DIY in the Dressing Room: A Spare We Won’t Tire Of
When our first-time flat purchase was just a twinkle in our eye, we knew we wanted a two-bedroom so we could have a spare room. After years of renting one-bedroom flats, being property guardians, and flat sharing, we wanted to throw money at the problem and get somewhere where we could really spread out and give ourselves some space.
Our spare room has been exactly just that for a while – a spare space we’ve been pretending is a dressing room that happens to have a day bed in it so we could host guests (remember that?!). But we knew we had to give this space a little more love than just some new blinds and some storage, so we decided – after getting some paint samples for the hall – that it was high time we gave this room some love.

Now you might think it’s a pretty weird room to prioritize, especially when there’s a global pandemic and we can’t have anyone over to stay, but there was some method to our madness. Firstly, the furniture we had in there has moved from about four different flats and was in desperate need of replacing – like serious need… And secondly, we haven’t ever painted before, so if we were going to royally mess it up, at least it was the spare room a.k.a the ‘close the door and never think about it again’ room.
After all, it’s only the laundry and our guests who really have to endure that room anyway.
We kicked things off with the furniture. Our salvaged, second-hand, upcycled, re-upcycled, triple-upcycled-to-look-like-they-match pieces of bedroom furniture were not part of our new grown-up flat look and they HAD to go. Council collection booked, tick. IKEA purchases for nice new matching pieces, tick.
We went for the BJÖRKSNÄS range. Nice pale wood, lovely leather handle detailing, and just an all-around cost-effective winner. We also moved a Habitat rug originally planned for the main bedroom into the spare room and that gave us a good base for choosing colors.

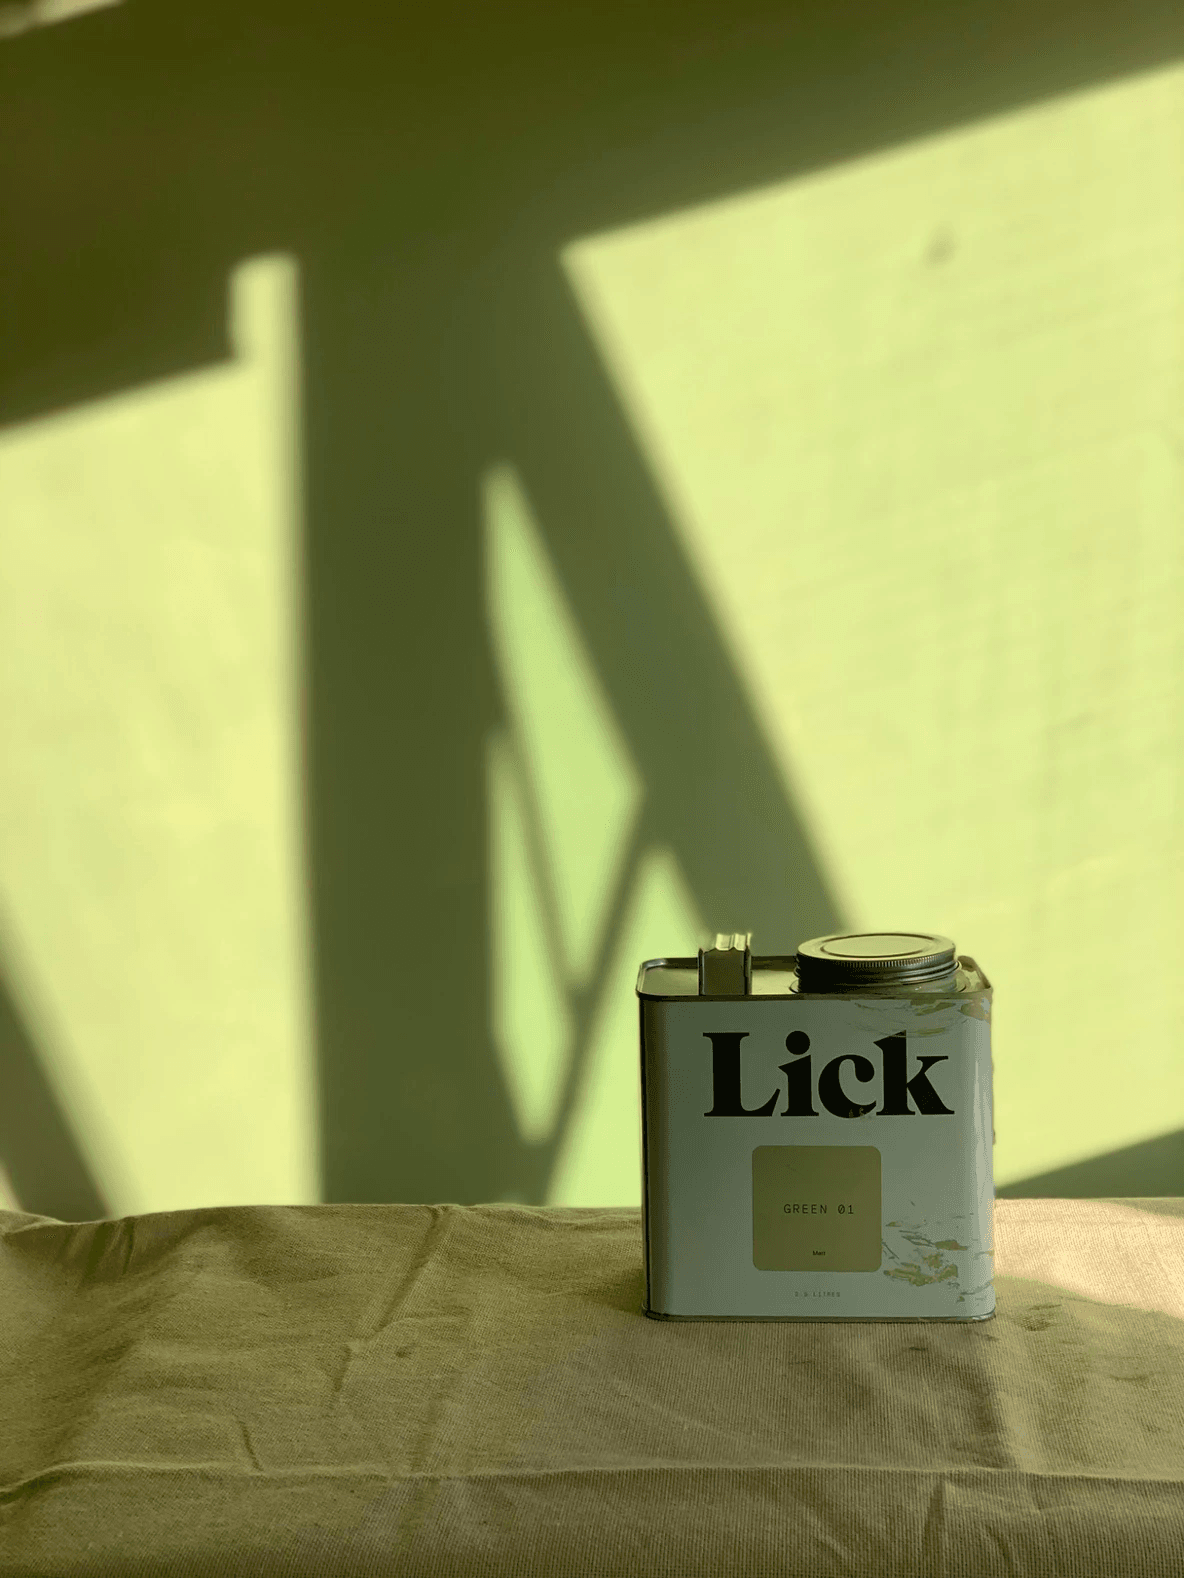
Now, if you’ve stayed tuned to our Instagram stories you may remember that we were originally planning on painting the hallway first and we were requesting samples and making lots of decisions. Well, when it came to the spare bedroom every piece of advice and common sense went straight out of the window. We knew that a sage green would look nice against the wood so instead of ordering samples we went gung-ho and just ordered Green 01 from Lick.
What followed was a mini paint-related breakdown. Is it too yellow? Does it look gold? We can’t return it without paying to return it. Is it green enough? Is it too green? Does it actually look mint? Does it actually look nice against the wood? What do you think about Instagram followers? What do you think mum? What do you think random man on the street? Honestly, this was 48 hours of the most indecisive-ness that you have ever seen. BUT. After some much-needed advice from friends, family, and our paint guru, Bianca (a.k.a. French for Pineapple), we just went for it. And actually, it’s just what we wanted.
So, for anyone painting, our advice is ALWAYS to get paint samples and try them first. Otherwise, you’re potentially in for a day or two of thinking “what the hell have I done?”.
Our Top 6 Painting Tips
- Paint samples onto paper instead of the wall and stick them to the wall with masking tape. Alternatively, Lick’s samples are sticky pads that peel onto the wall and come off with ease!
- Purchase good equipment and spend money on high-quality brushes and trays. And don’t go for anything too heavy or your hand will hurt.
- We’ve had mixed reviews about masking/frog tape. Some people have told us to buy high quality, others have suggested that cheaper is better as it won’t peel the paint off the wall. It’s trial and error!
- Use a card. We remember watching DIY Queen Bee, Melanie Lissack, talk about this. Did we do it? Of course not. Basically, when you’re taping the edges, push down with something flat and firm to ensure you get a clean, straight line.
- Don’t rush into painting. Prep, put sheets down, cover furniture, tape your woodwork, and take your time.
- We found this SLMan article really useful!
And as two first-time painters, it’s actually a pretty decent job. Are all the finishes straight? Of course not. Are there tiny splashes of paint on the skirting board? Absolutely. Do we care? No. Because you know what, no one will really be able to tell and it’s a vast improvement on the dull white dumping ground it was before.

We’re really happy with the warmth it’s brought to the room. We tired the sage green in with the orange and mustard hues, some greenery on the shelves, and anchored it all with black metal furniture. The light fitting was an old find from Loaf and we like the industrial feel it brings to the room to stop everything from feeling too “tropical”. Finally, we love the green against the monochrome polka dot blinds. These are from a previous gifted collaboration with Couture Living which you can read about by clicking here and we think they pop so much more against the green than the white.

And there you have it, our guest bedroom refresh and a spare we won’t tire of (for now).
This article was written by David & Mark from Forward Features
Meet The Authors
London-based duo blogging about interior, trends, design & industry news. Winners of the Best Design Inspiration blog in the Amara Interior Blog Awards '16, Forward Features is the journey of David & Mark, interior geeks searching for domestic bliss in the city.


 20h left


