- Design Your Room
- AI Design
- Explore
- Blog

How to Install Wall Panel Moulding
Have you seen my feature wall addiction yet? It’s coming in strong. I’ve done a modern board and batten, shiplap, peel and stick wallpaper, and today I’m bringing you panel moulding! Panel moulding is so subtle yet makes a huge impact in your space. One of my favorite things about panel moulding is that, once again, it really is up to you in the design of it all. What shapes are you going to do? Where are you going to put it? What type of moulding will you choose for it?
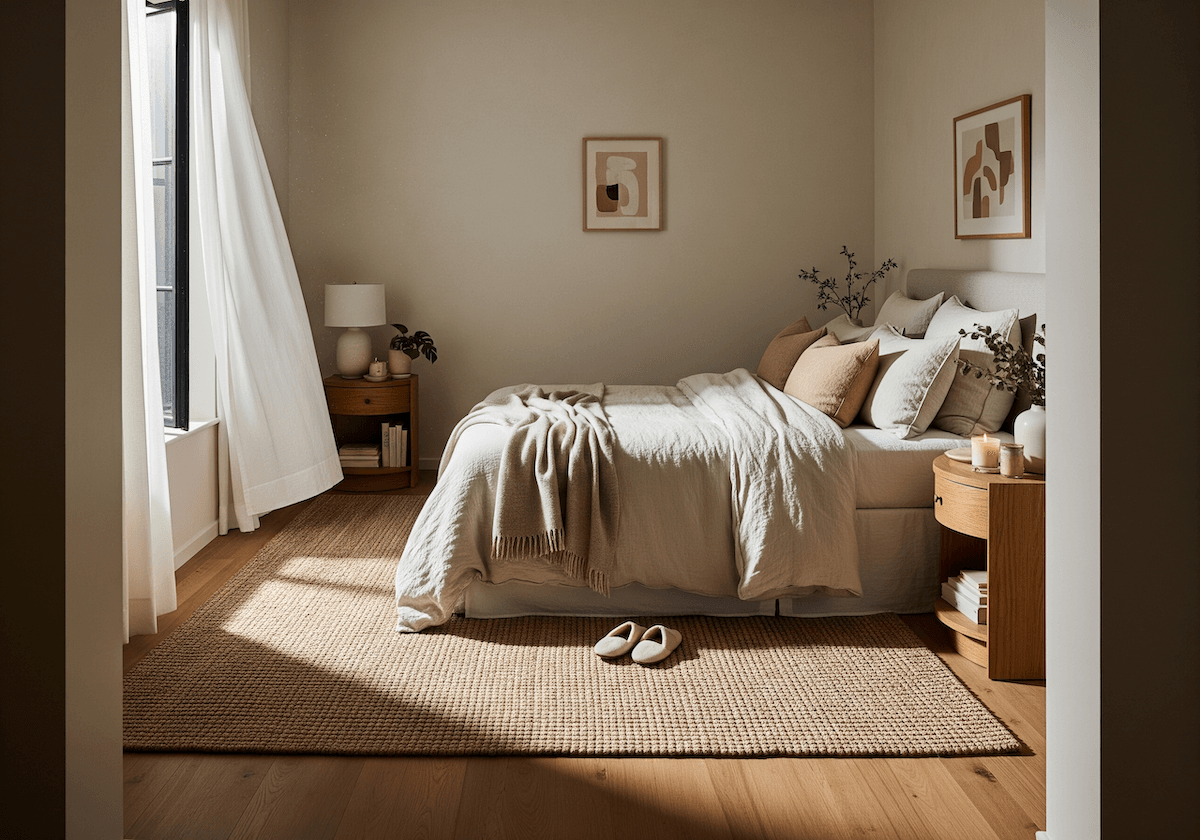
See what I mean? Endless opportunities. In our primary bedroom, I went with a very simple and thin panel moulding. I was looking for something subtle, soft, and more traditional and I think I nailed it! What do you think?
What You Need to Install Your Own Panel Moulding

Here’s what you need to install your own wall panel moulding:
- Wall panel moulding of your choice (quantity depends on how much wall space you’re filling and the size of your squares/rectangles)
- Drywall compound
- Sanding block and paper (220 grit)
- Paintable caulking
- Paint of your choice (I used Benjamin Moore – Decorator’s White to match my existing wall color)

Tools you need:
- Mitre Saw
- Nail Gun and 2.5-inch nails
- Level
- Speed Square
- Tape Measure


How to Install Panel Moulding
This assumes your panel moulding is in a box style. The same instructions can apply for squares, rectangles, etc.
1. Tape out your space and see the pattern or look you’re trying to achieve. From here you can measure how much panel moulding you need, what sizes you need, etc. Once you have all of these details you can get to creating.
2. Make your cuts using a mitre saw. Cuts are 45 degrees each. Each piece should be cut resembling a trapezoid (long edges on the same size and short edges on the same side – NOT like a parallelogram).
TIP: I use the measuring tape for the first cuts of a certain size, then move on to using the already cut pieces as my guides so every piece that is supposed to be the same size is exactly the same size.
3. Time to install the panel moulding. I liked to start in the middle and work my way out to make sure everything is even. First, find the middle of the wall and the middle of the piece. Then, nail that middle piece in the middle using your nail gun! Take your level, level the piece, and nail in the rest of that middle piece. Next, get your second piece ready, and grab your speed square. Line it up so that the corners match up perfectly. Use your speed square to make that perfect 90 degree corner. Repeat for the third piece. For the last piece, line up the corners on either side and secure them using the nail gun again.
TIPS:
- Glue your panels to your walls if you want. I opted not to for ease of taking it off if I wanted to in the future.
- Search for the studs. Nail into the studs if you want a more reliable/secure nailing.
- If your pieces don’t land on a stud, use two nails. Nail your first nail in on an angle and the second nail on the opposite side at the opposite angle so behind the boards it makes an “X.”
4. Moving onto your next squares or rectangles, repeat step 3. But make sure the spaces between your boxes are even.
5. Fill your nail holes using drywall compound. Once it’s dry, sand away. Clean the dust of each board using a tack cloth. Then caulk.
6. Paint away.
7. Sit back and enjoy your new panel moulding!

This article was written by Samantha from Signed Samantha.
Meet The Author
Samantha is a working mama who has always been looking to find that work/life balance.
On her website, you’ll find a daily dose of inspiration, coupled with a ton of sarcasm and a few laughs. Signed Samantha is a millennial mom who encompasses all things food, cocktails, entertaining, home decor, easy D.I.Ys, toddler activities, and everything in between.
 22h left